 I was sure a post on chocolate would be my easiest by far- turns out writing about chocolate is actually very hard. The challenge is that it’s too simple, too obvious, my feelings about it are too common. I love chocolate, it’s my favorite food, I’ll eat it at any time of day including for breakfast, it makes every bad situation seem manageable, I consider it a legitimate food group and I never get tired of eating it. Never.
On second thought, why don’t I stop trying to be fancy and just quit there? I mean, those of you who share my lust for chocolate already get it and those of you who don’t, well, it’s sad but we’ll probably never be good friends. Below are two of my favorite chocolate recipes. The bread pudding is very decadent and a calorie bath; the cookie dough bites are a wonderfully healthy solution to sweet-tooth cravings or make a great guilt-free dessert.
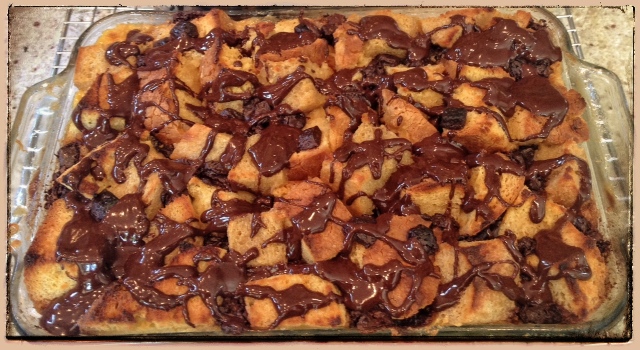
DECADENT: Chocolate Bread Pudding
Serves 8-10. The original recipe for this bread pudding calls for challah (which is delicious) but I make it when I have homemade bread going stale; don’t be afraid to use whatever you have. Also, I don’t digest dairy very well so I swap out all the milk for coconut milk (I leave the butter!) so this recipe is adapted to my preferences. For the original recipe go to How To: Simplify)
Ingredients:
4 cups unsweetened coconut milk
1 stick butter, melted
1 1/2 cups sugar
6 eggs
1 teaspoon vanilla extract
1 large loaf of bread or equivalent , cut into 1-inch chunks
2 cups semisweet chocolate chunks
Chocolate Ganache:
3/4 cup of plain coconut creamer
1 cup semisweet/dark chocolate cut into chunks
1/2 tsp cholula (or any hot sauce)
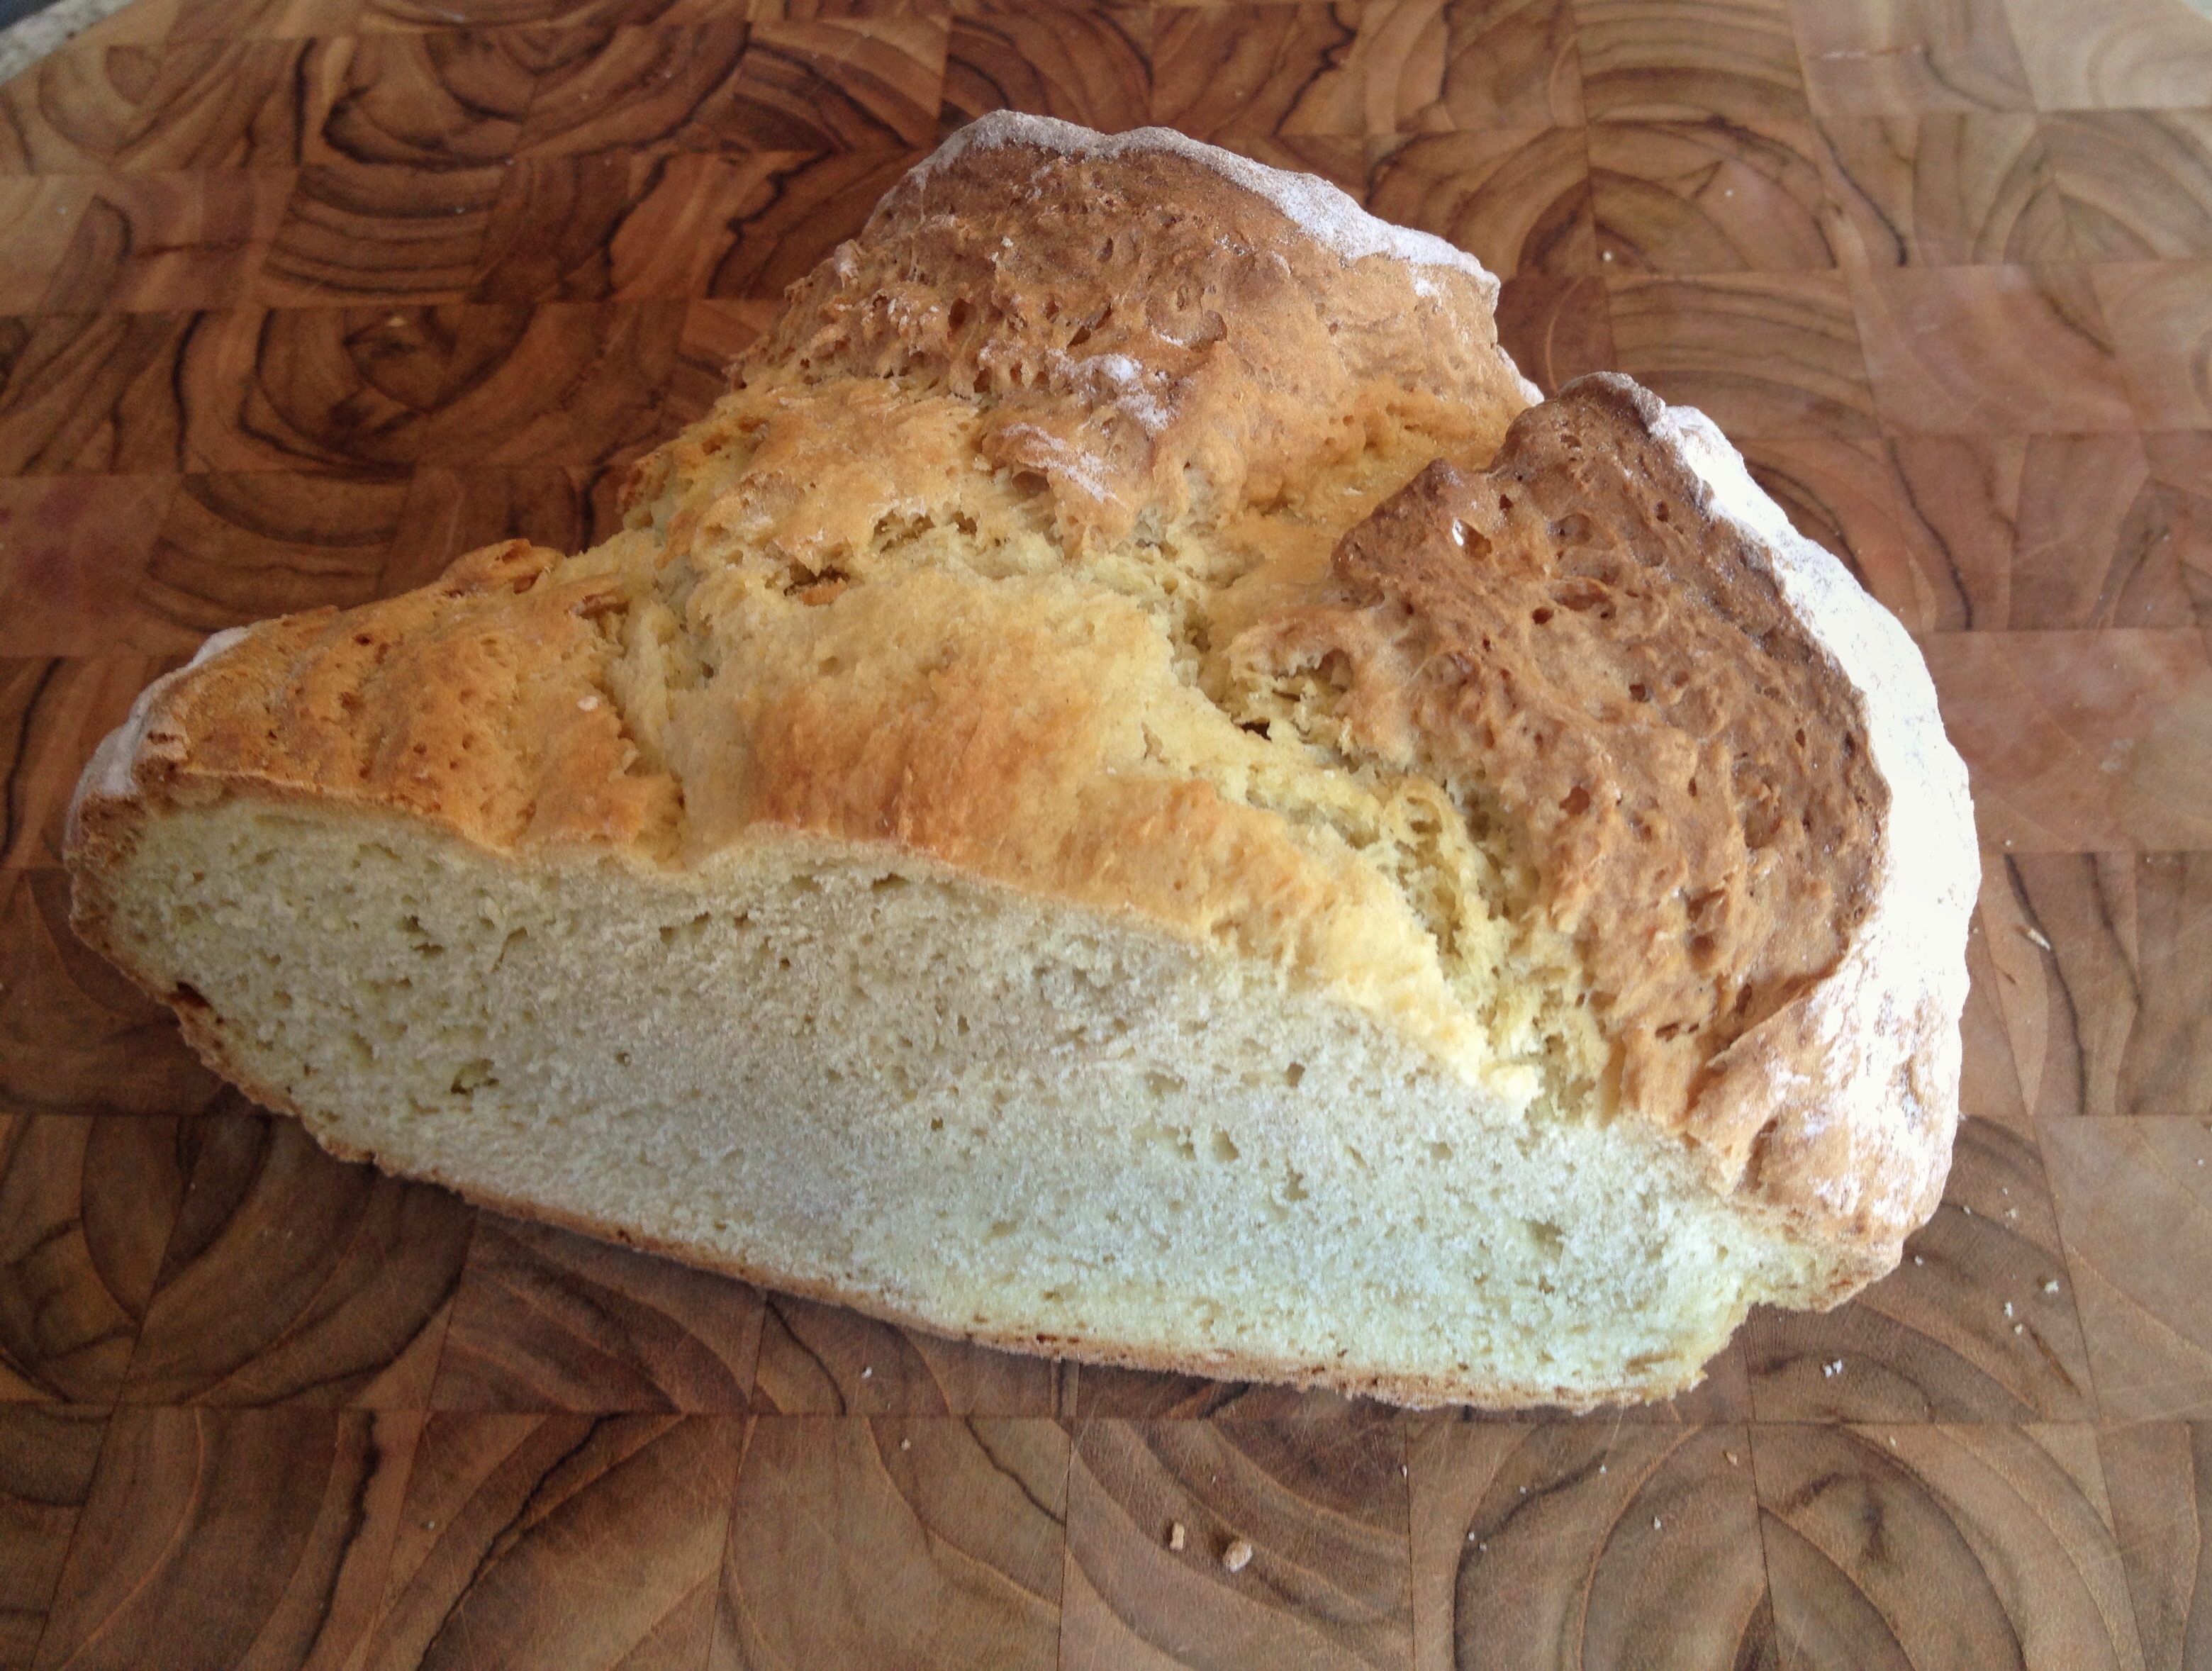
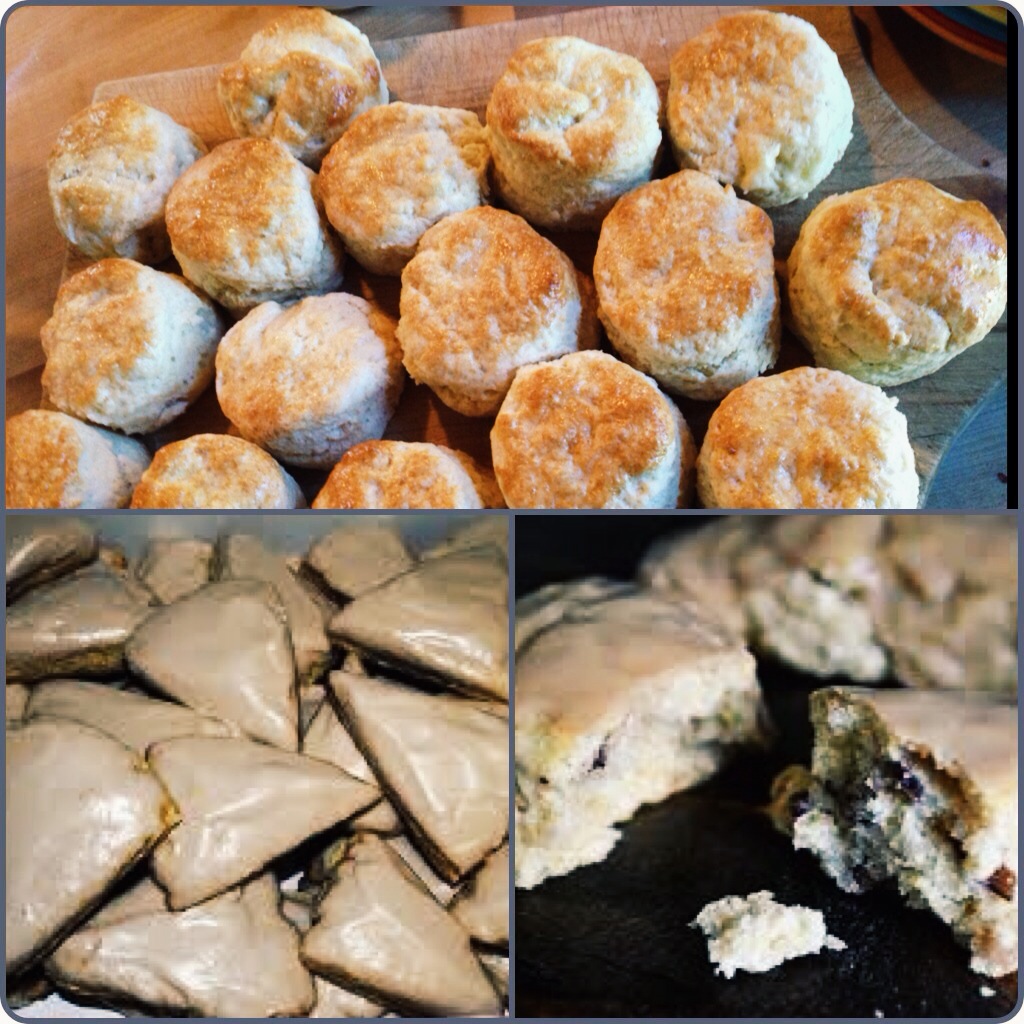
The leftover homemade soda bread I used.
Directions:
1. Preheat oven to 325°. Grease a 9×13 baking dish with butter (if you’re not portioning for guests before serving, bake in the dish you want to serve it in, it doesn’t transfer attractively).
2. Combine coconut milk and butter in a large mixing bowl. Add the sugar, eggs, and vanilla extract. Whisk to combine.
3. Line the baking dish with half the bread & sprinkle with half the chocolate chunks.
4. Add remaining bread slices to dish and pour the milk mixture over the bread evenly so that all of it is covered in the mixture.
5. Top with remaining chocolate chunks.
6. Allow the baking dish to stand for 15 minutes. During this time, press down the bread every once in a while in order to ensure it’s all soaked in the milk mixture.
7. Cover the baking dish with aluminum foil and bake for 50 minutes. Remove the foil and continue to bake for 10-15 minutes or until the mixture is set and the bread is lightly browned.
8. Remove from the oven and drizzle (or cover) with Chocolate Ganache.
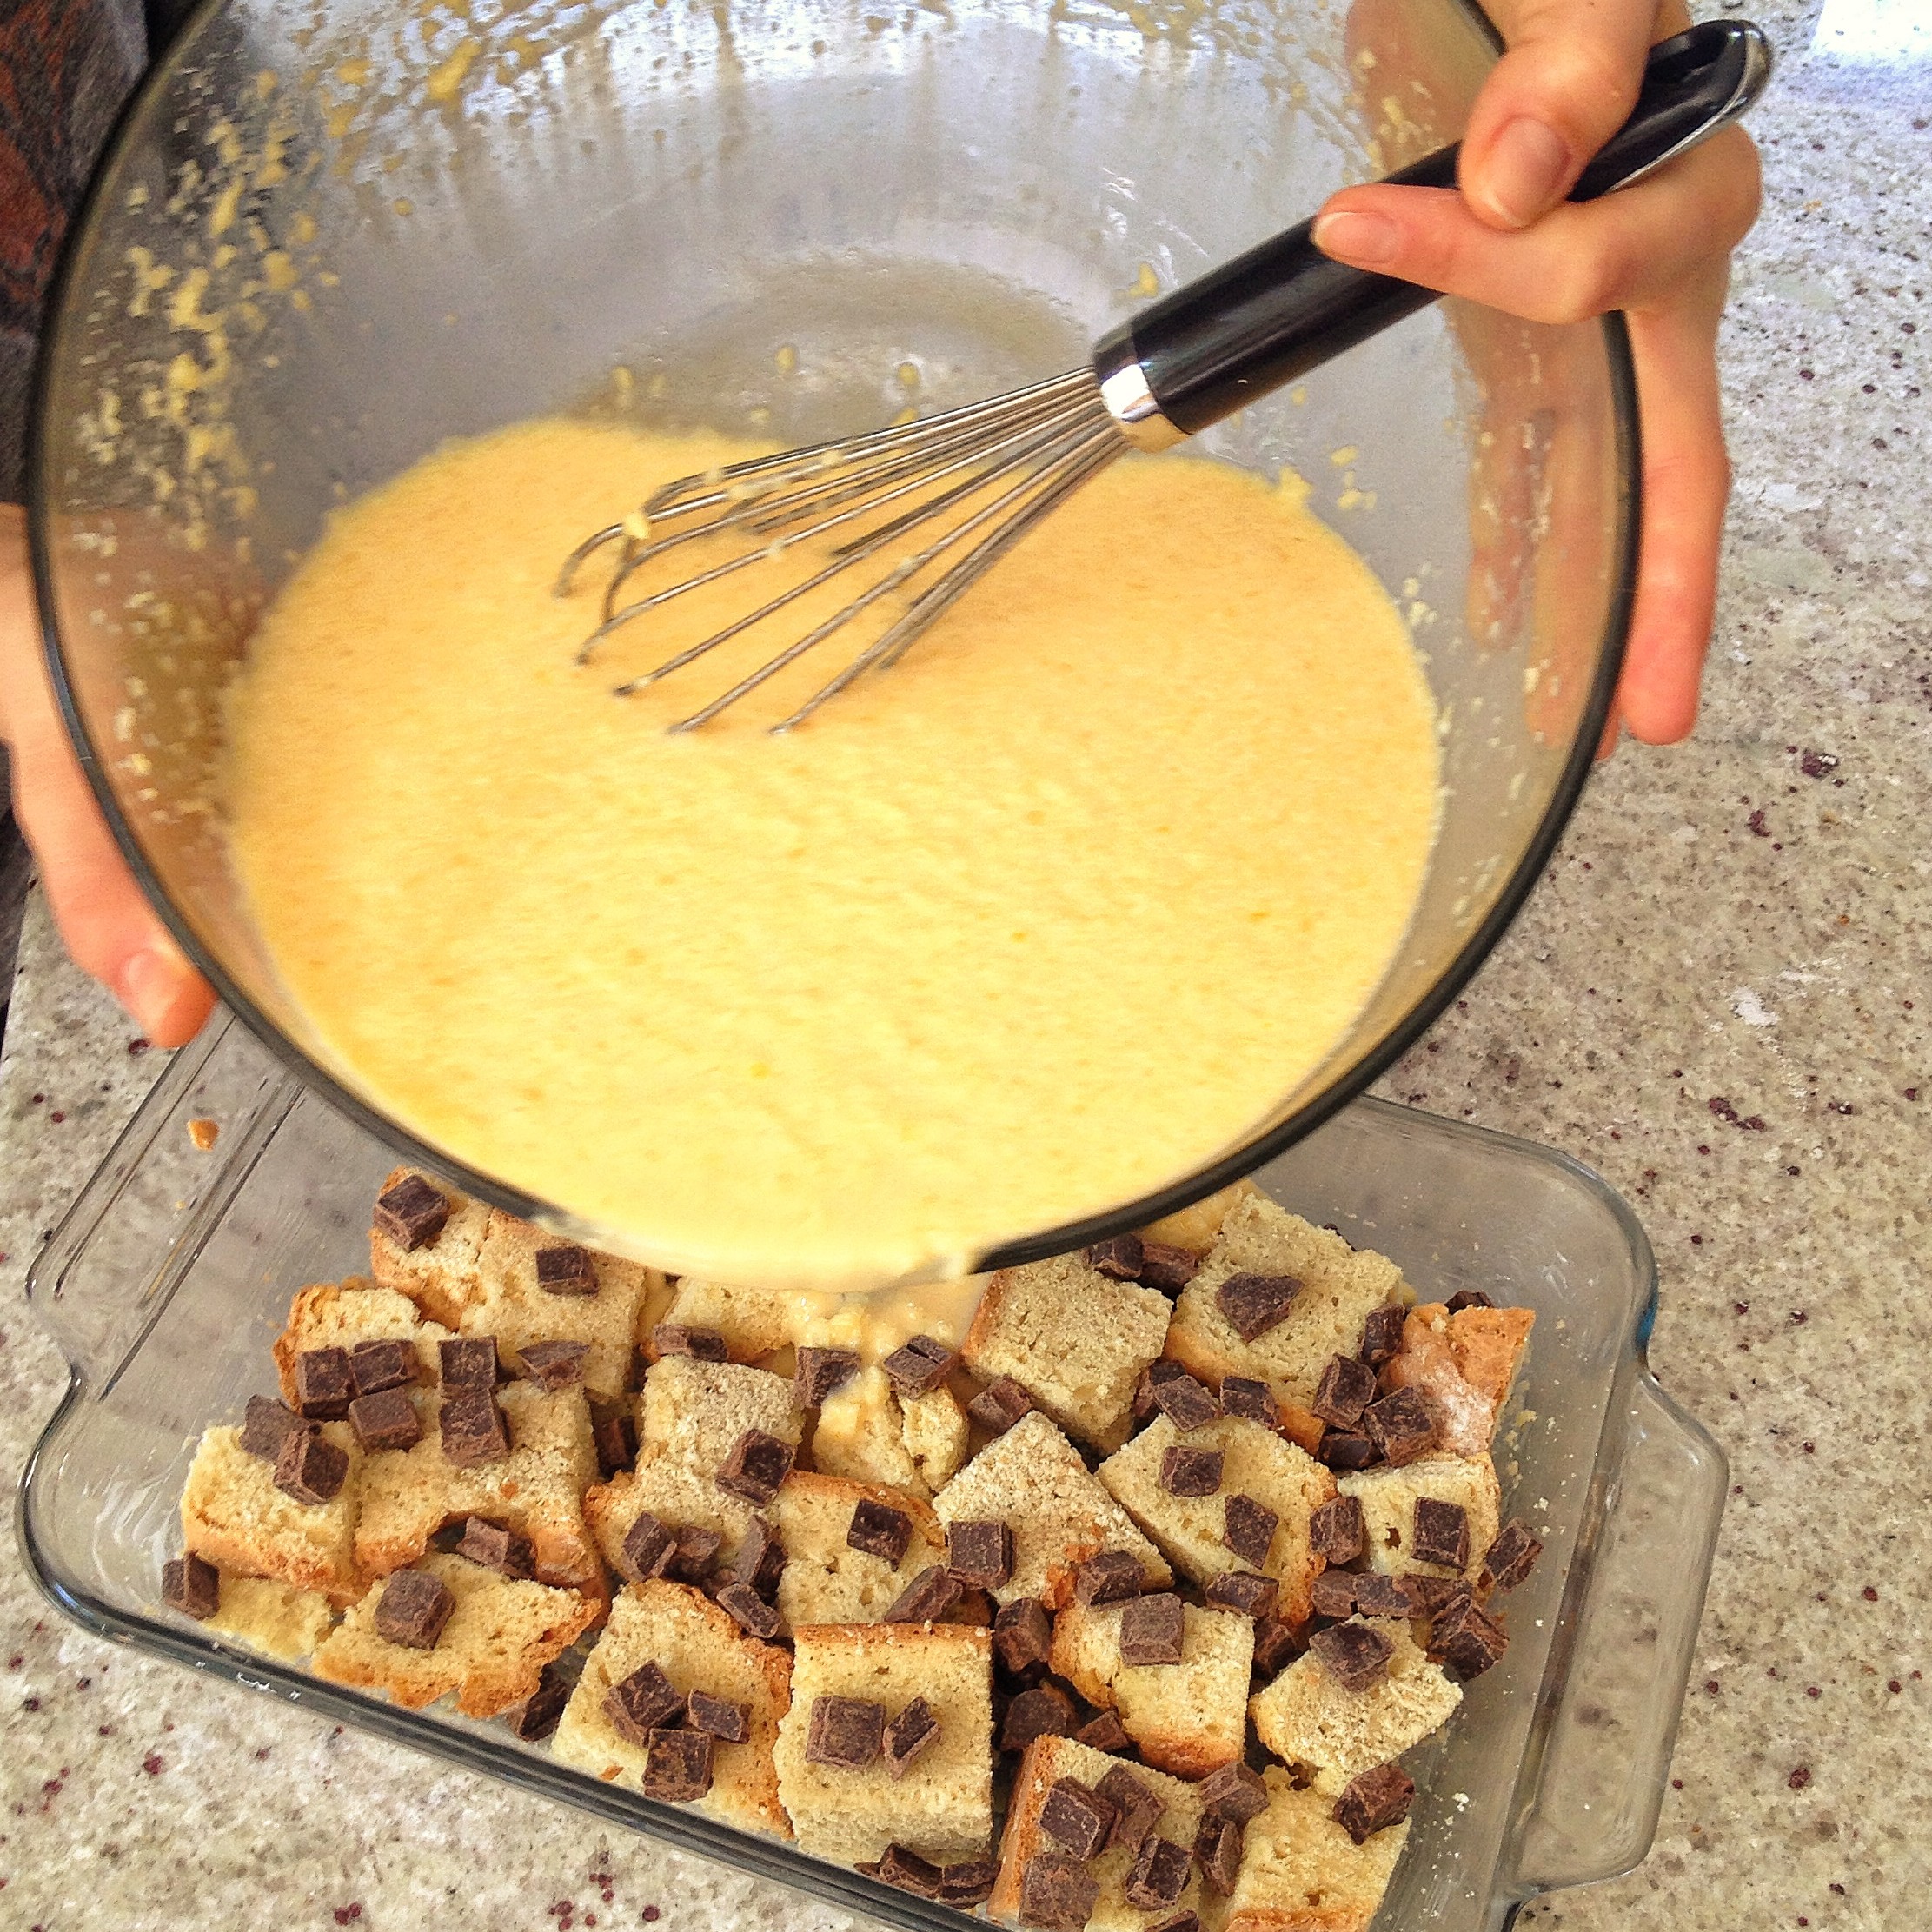
Adding the egg & milk mixture
How To Make Ganache: In a double boiler mix together a generous 1/2 cup of the plain coconut creamer with 1 cup of dark/semisweet chocolate chunks. Melt and stir until it is a smooth chocolate sauce. If it is too thick to drizzle, slowly add remaining 1/4 cup of coconut creamer until desired consistency is achieved.
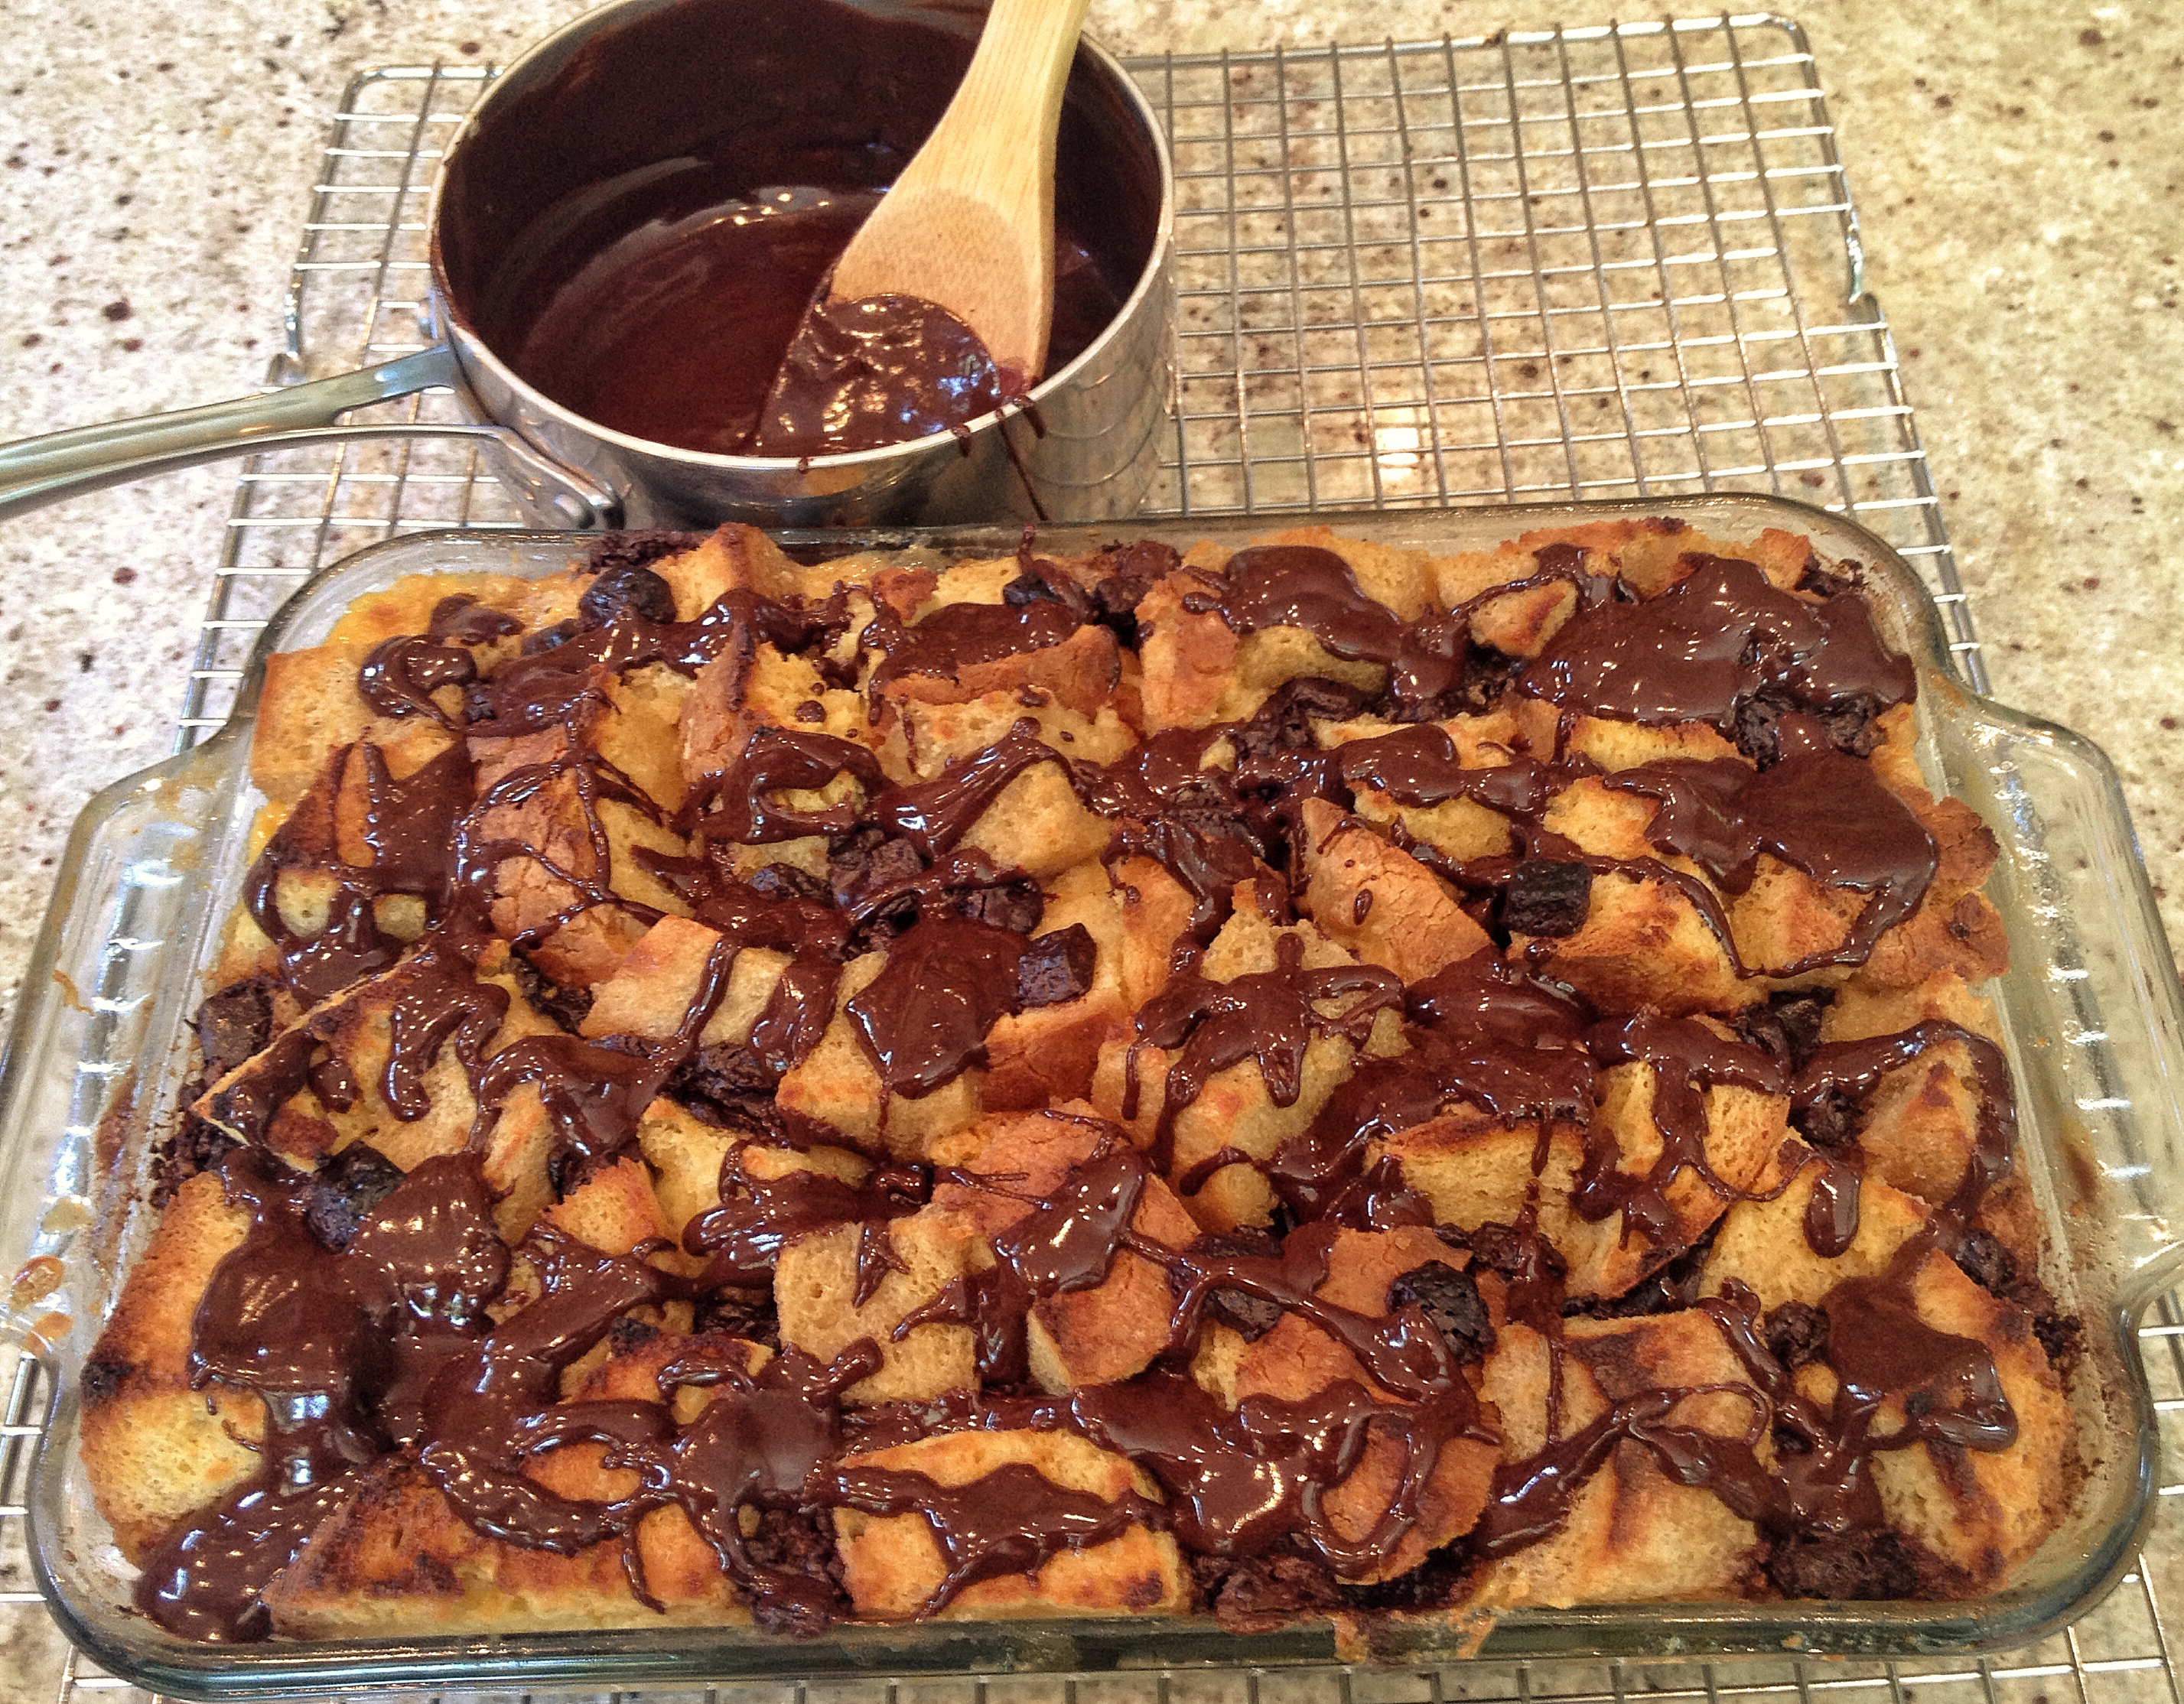
Drizzle the ganache or cover the whole thing!
*tips: Don’t be afraid to mix different types of bread together. I once made this with a combo of leftover homemade soda bread and a quarter loaf of store-bought whole wheat and it was great. Just mix the chunks of bread together well before you start the recipe. If you are plating individual portions before serving I recommend scooping out the servings and then drizzling each portion with some of the chocolate ganache, it looks better.
HEALTHY: Chocolate Chip Cookie Dough Bites
Makes 12. This recipe is adapted from Clean Food Dirty City. She makes these raw and gluten free and they are great that way but I prefer the extra salt kick and roasted flavor of roasted cashews and I didn’t have oats that said 100% gluten free. I also love these as a quick treat on the go so to avoid flaky crumbs I blend all the coconut flakes right into the mix instead of rolling them in it.
Ingredients:
¾ cup roasted & salted cashews
½ cup rolled oats (gluten free if desired)
½ cup unsweetened coconut flakes
¼ teaspoon pink Himalayan salt (regular is fine)
6 honey dates (or 3 medjool) pitted and soaked in hot water
1 tablespoon vanilla extract
¼ cup dark/semisweet chocolate chips
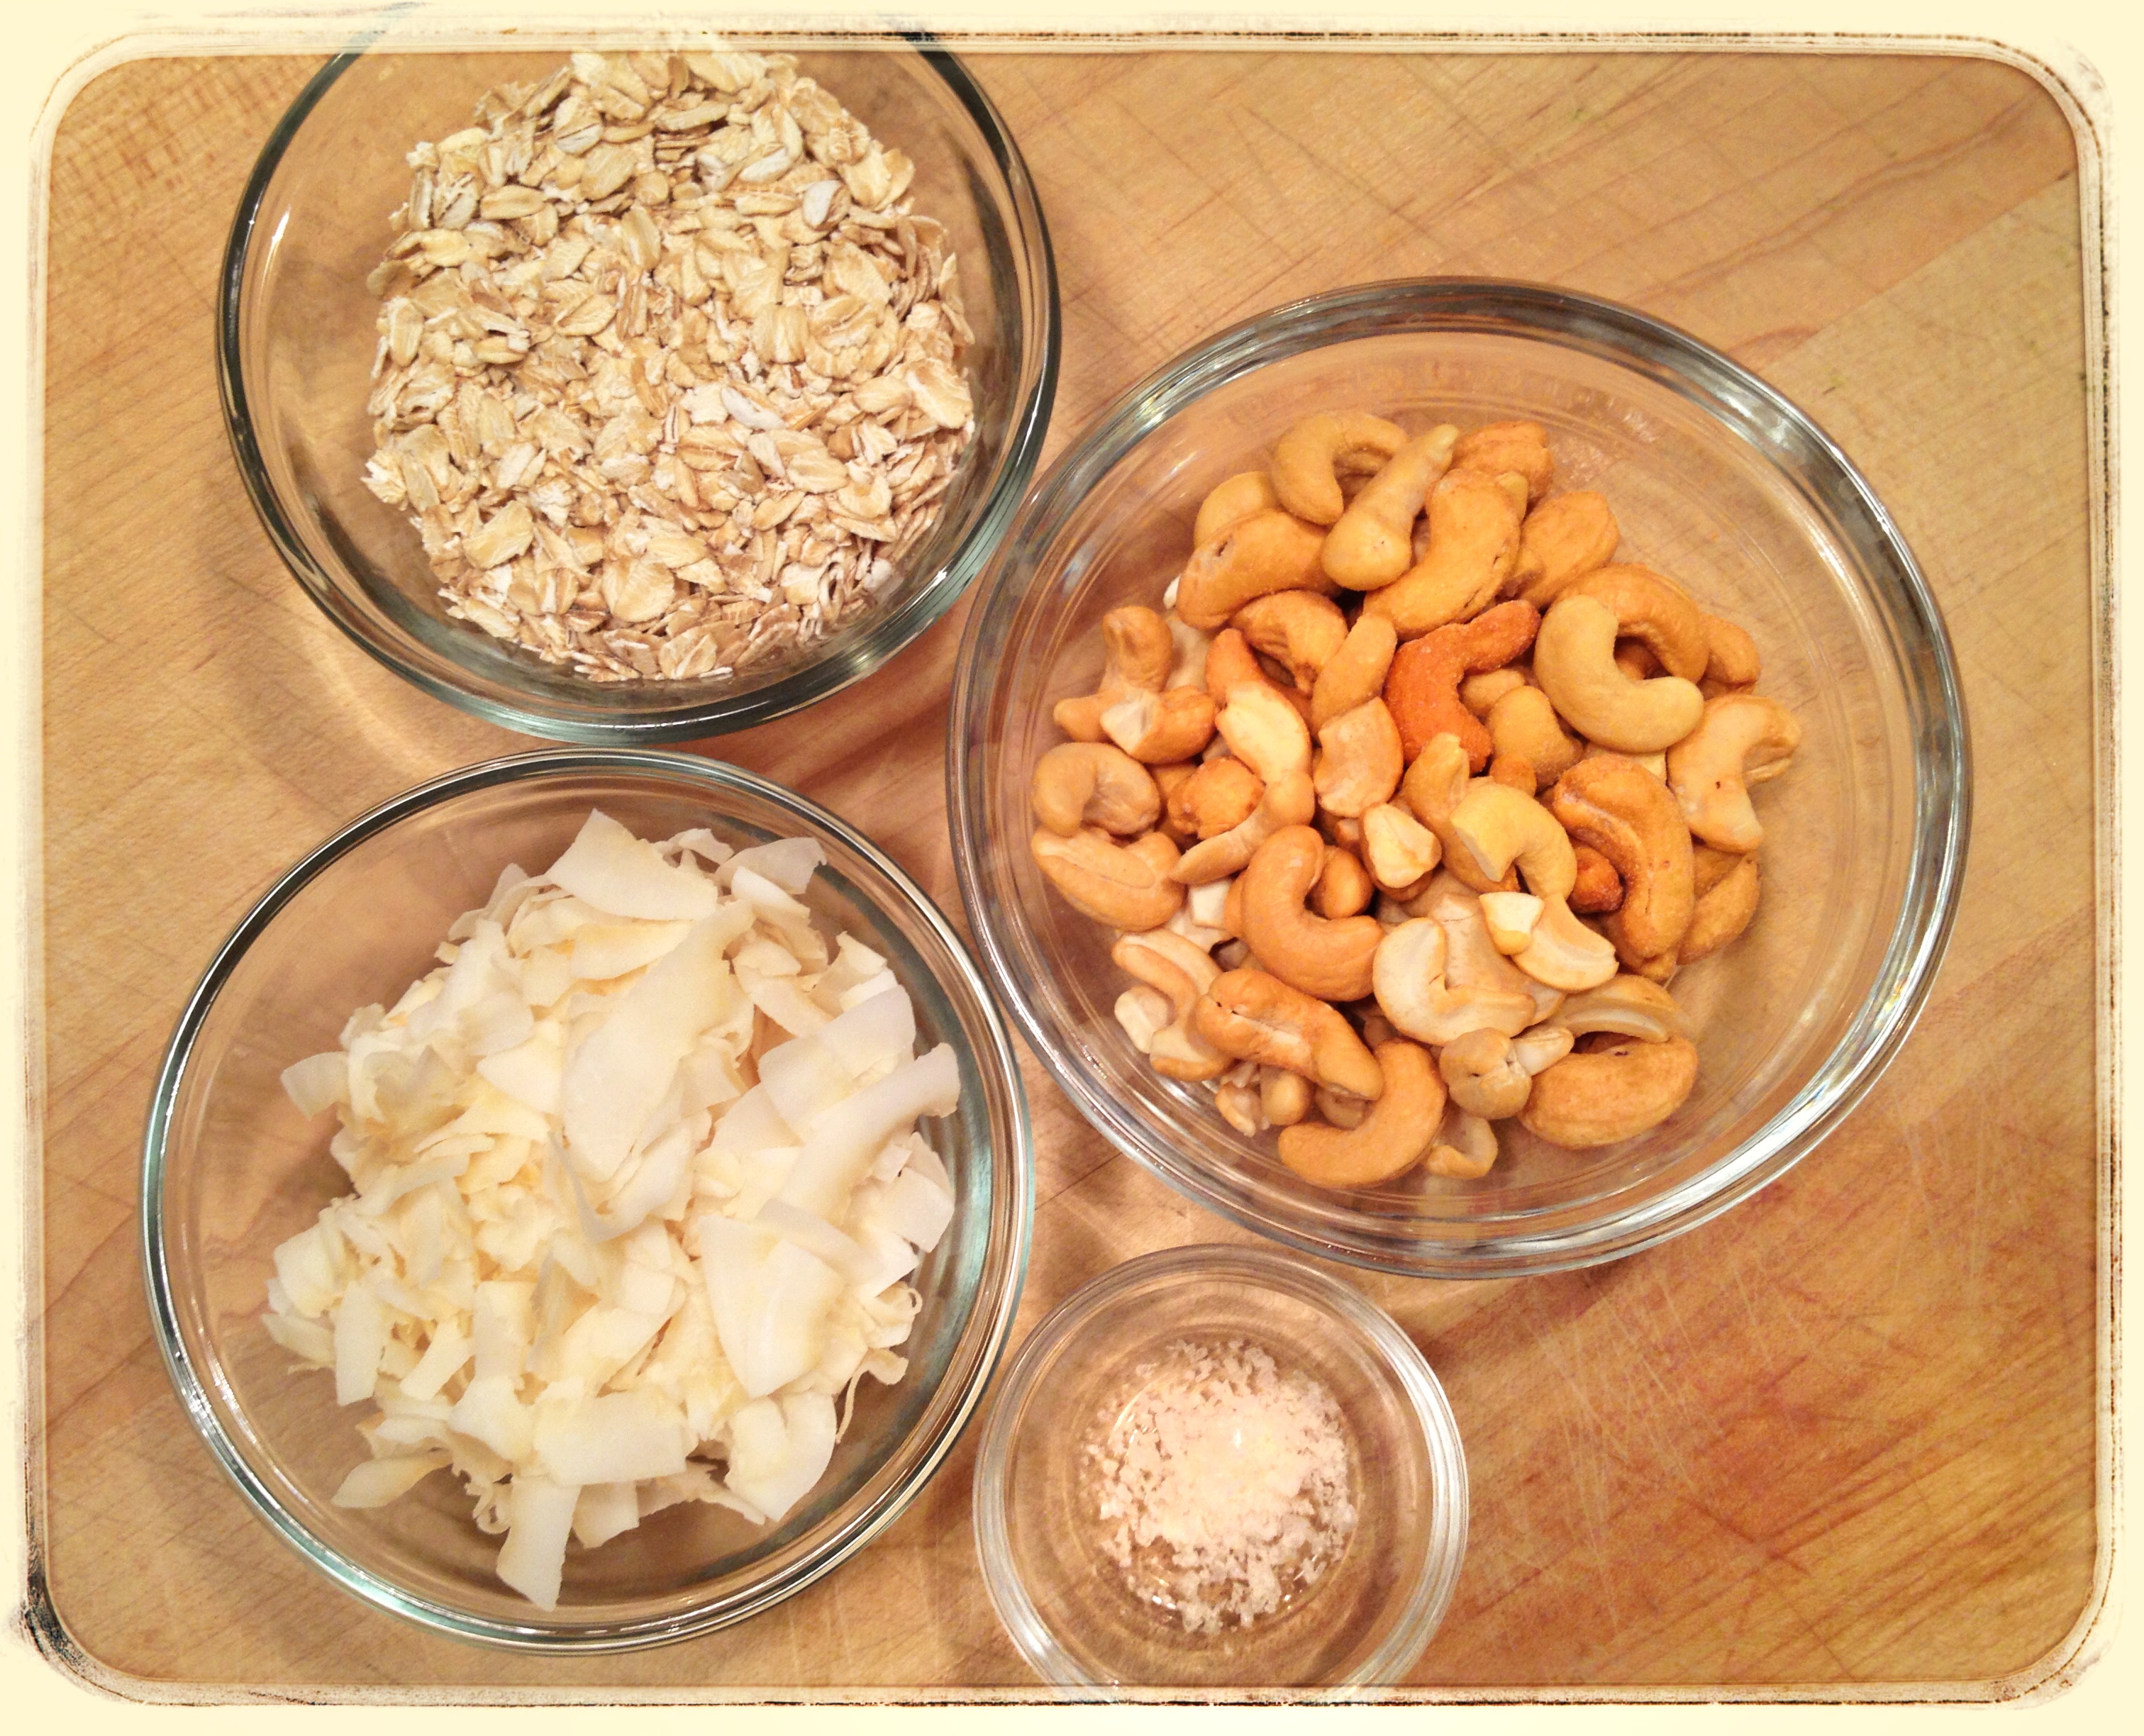
Always measure out ingredients before starting to cook
1. Line a plate with parchment paper and set it aside.
2. Combine the cashews, oats, coconut flakes, and salt in a food processor or Vitamix. Pulse until a fine meal forms.
3. Add the soaked dates (make sure they are pitted!), 3 tablespoons of the water the dates have been soaked in, and the vanilla extract. Pulse again until the mixture becomes a dough like consistency.
4. Remove the dough and place it in a small bowl. Gently fold in the chocolate chips until they are incorporated into the dough mixture.
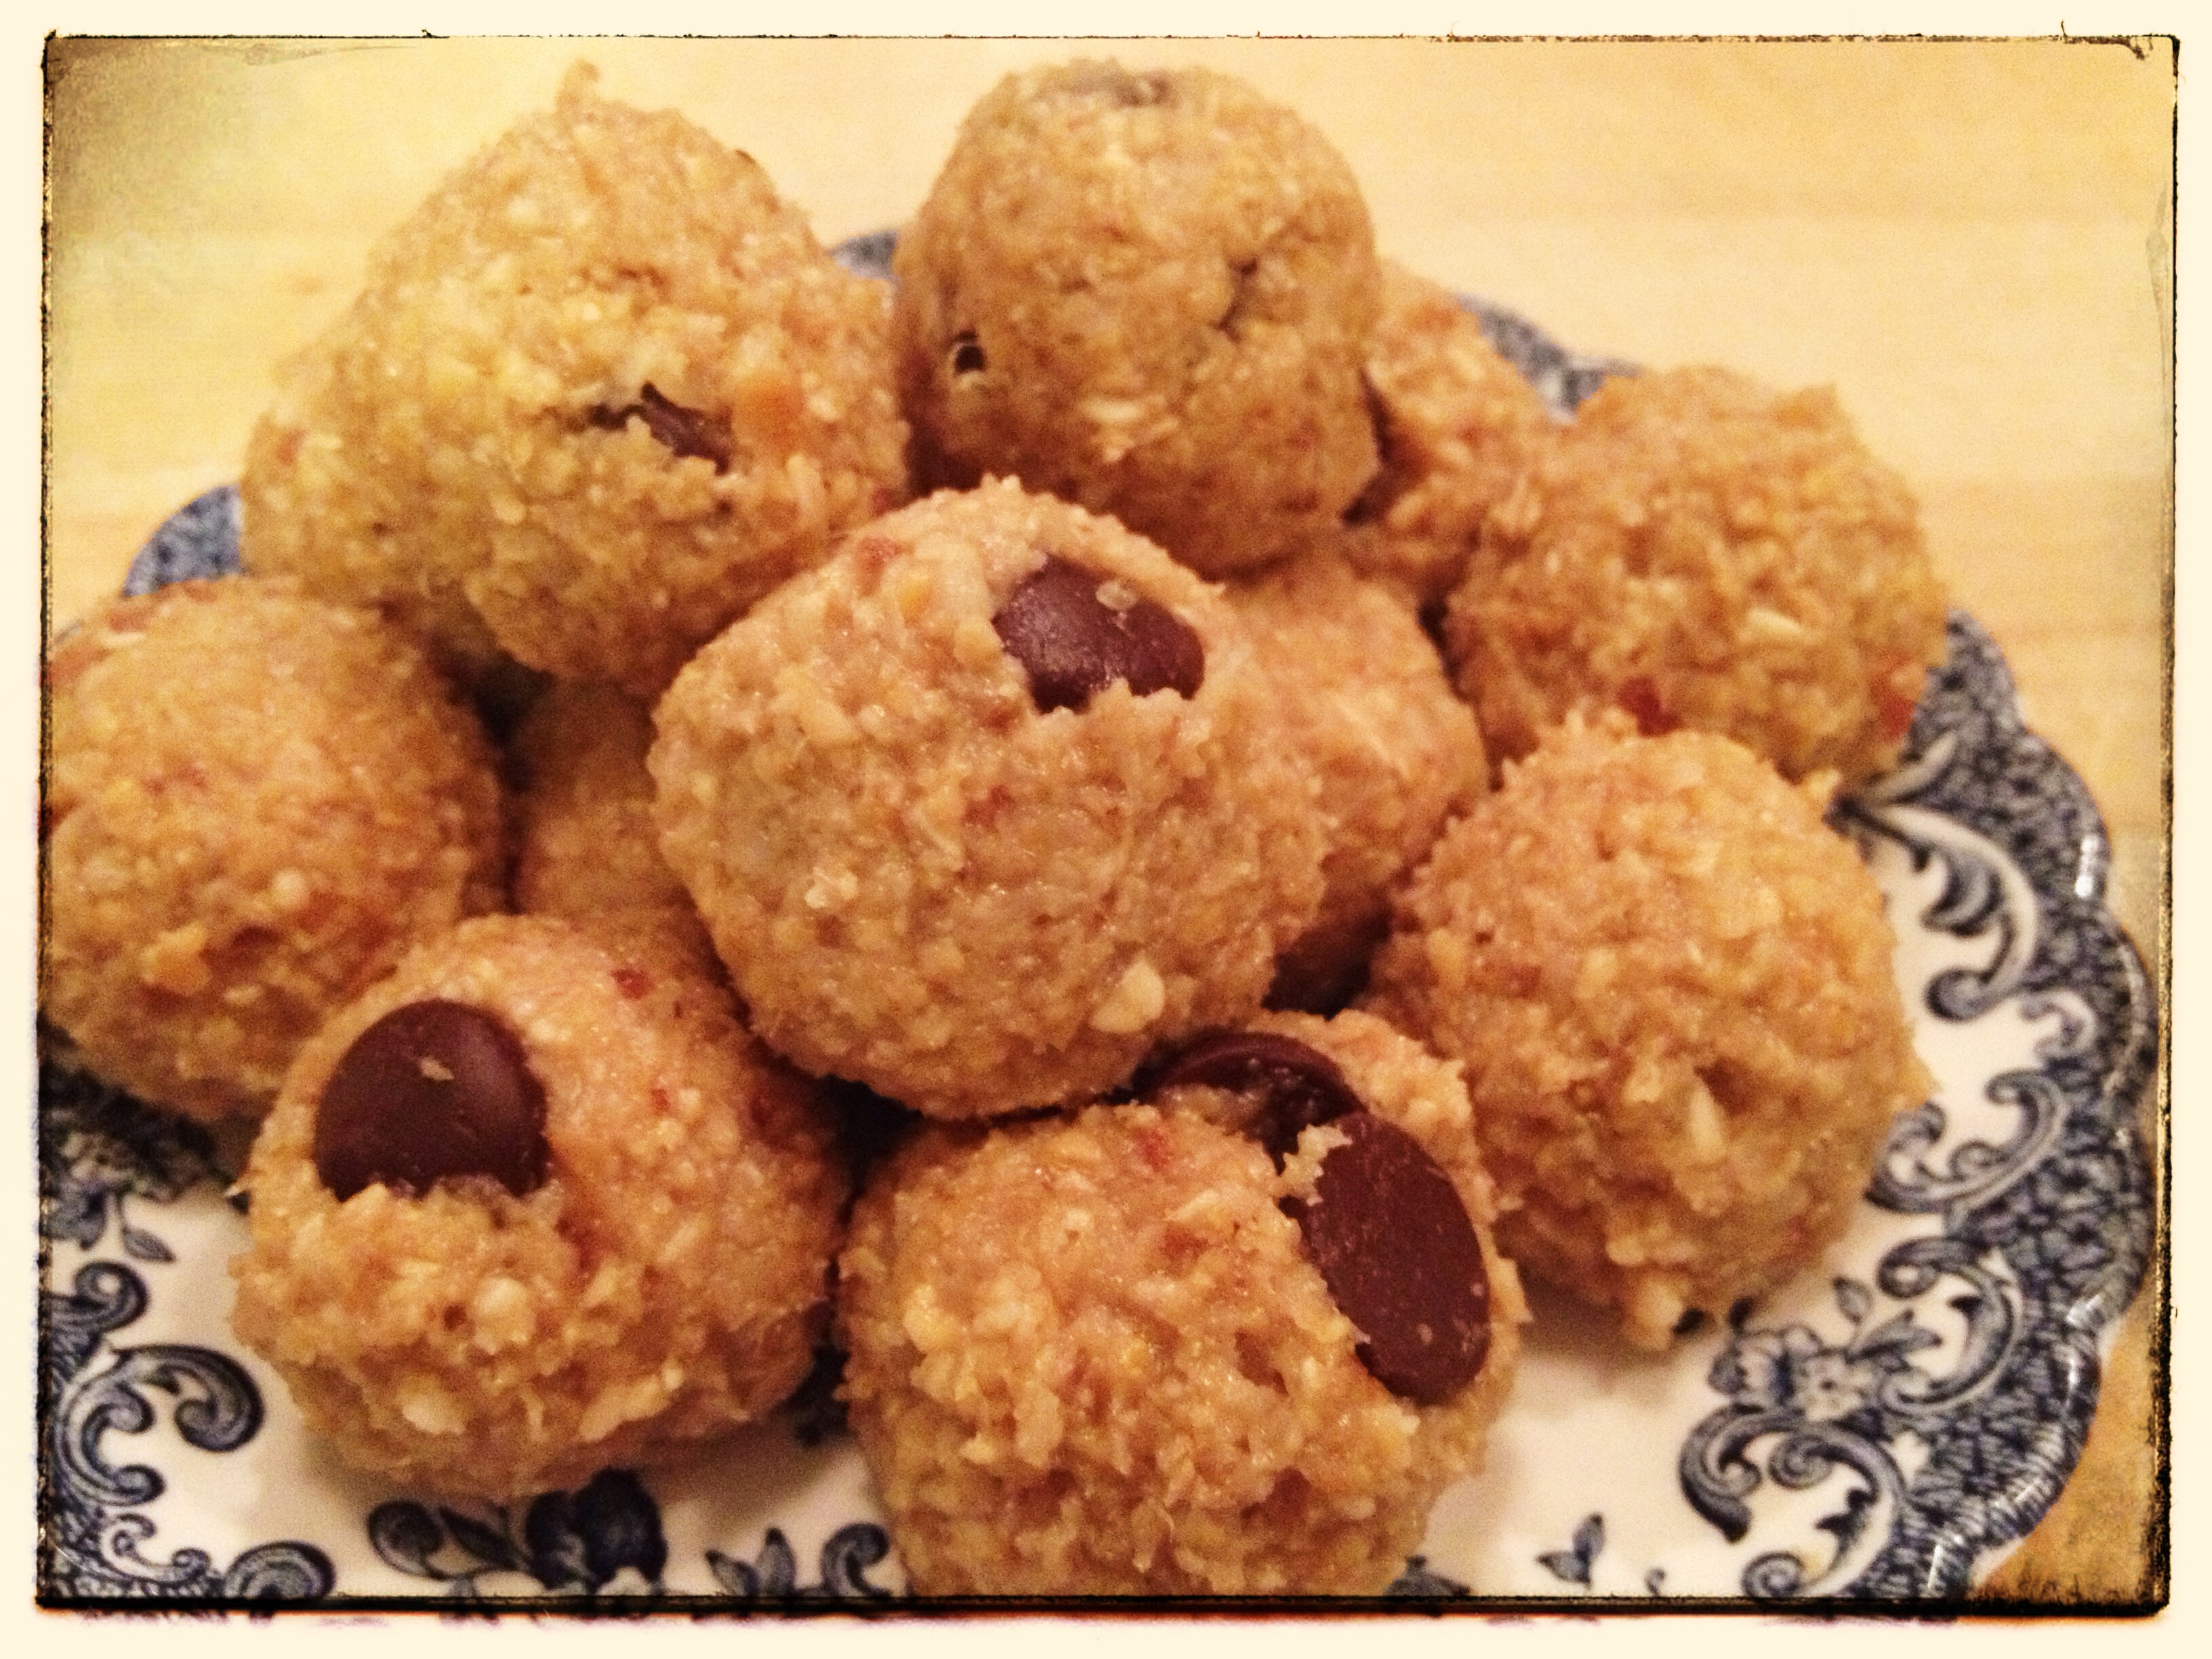
5. Portion out the dough onto parchment paper into twelve equal sized balls. With clean hands, roll into rounded balls.
7. Enjoy immediately, or refrigerate for 15 minutes to hold shape better for serving. Store leftovers in the freezer (these can actually be eaten right out of the freezer too!)
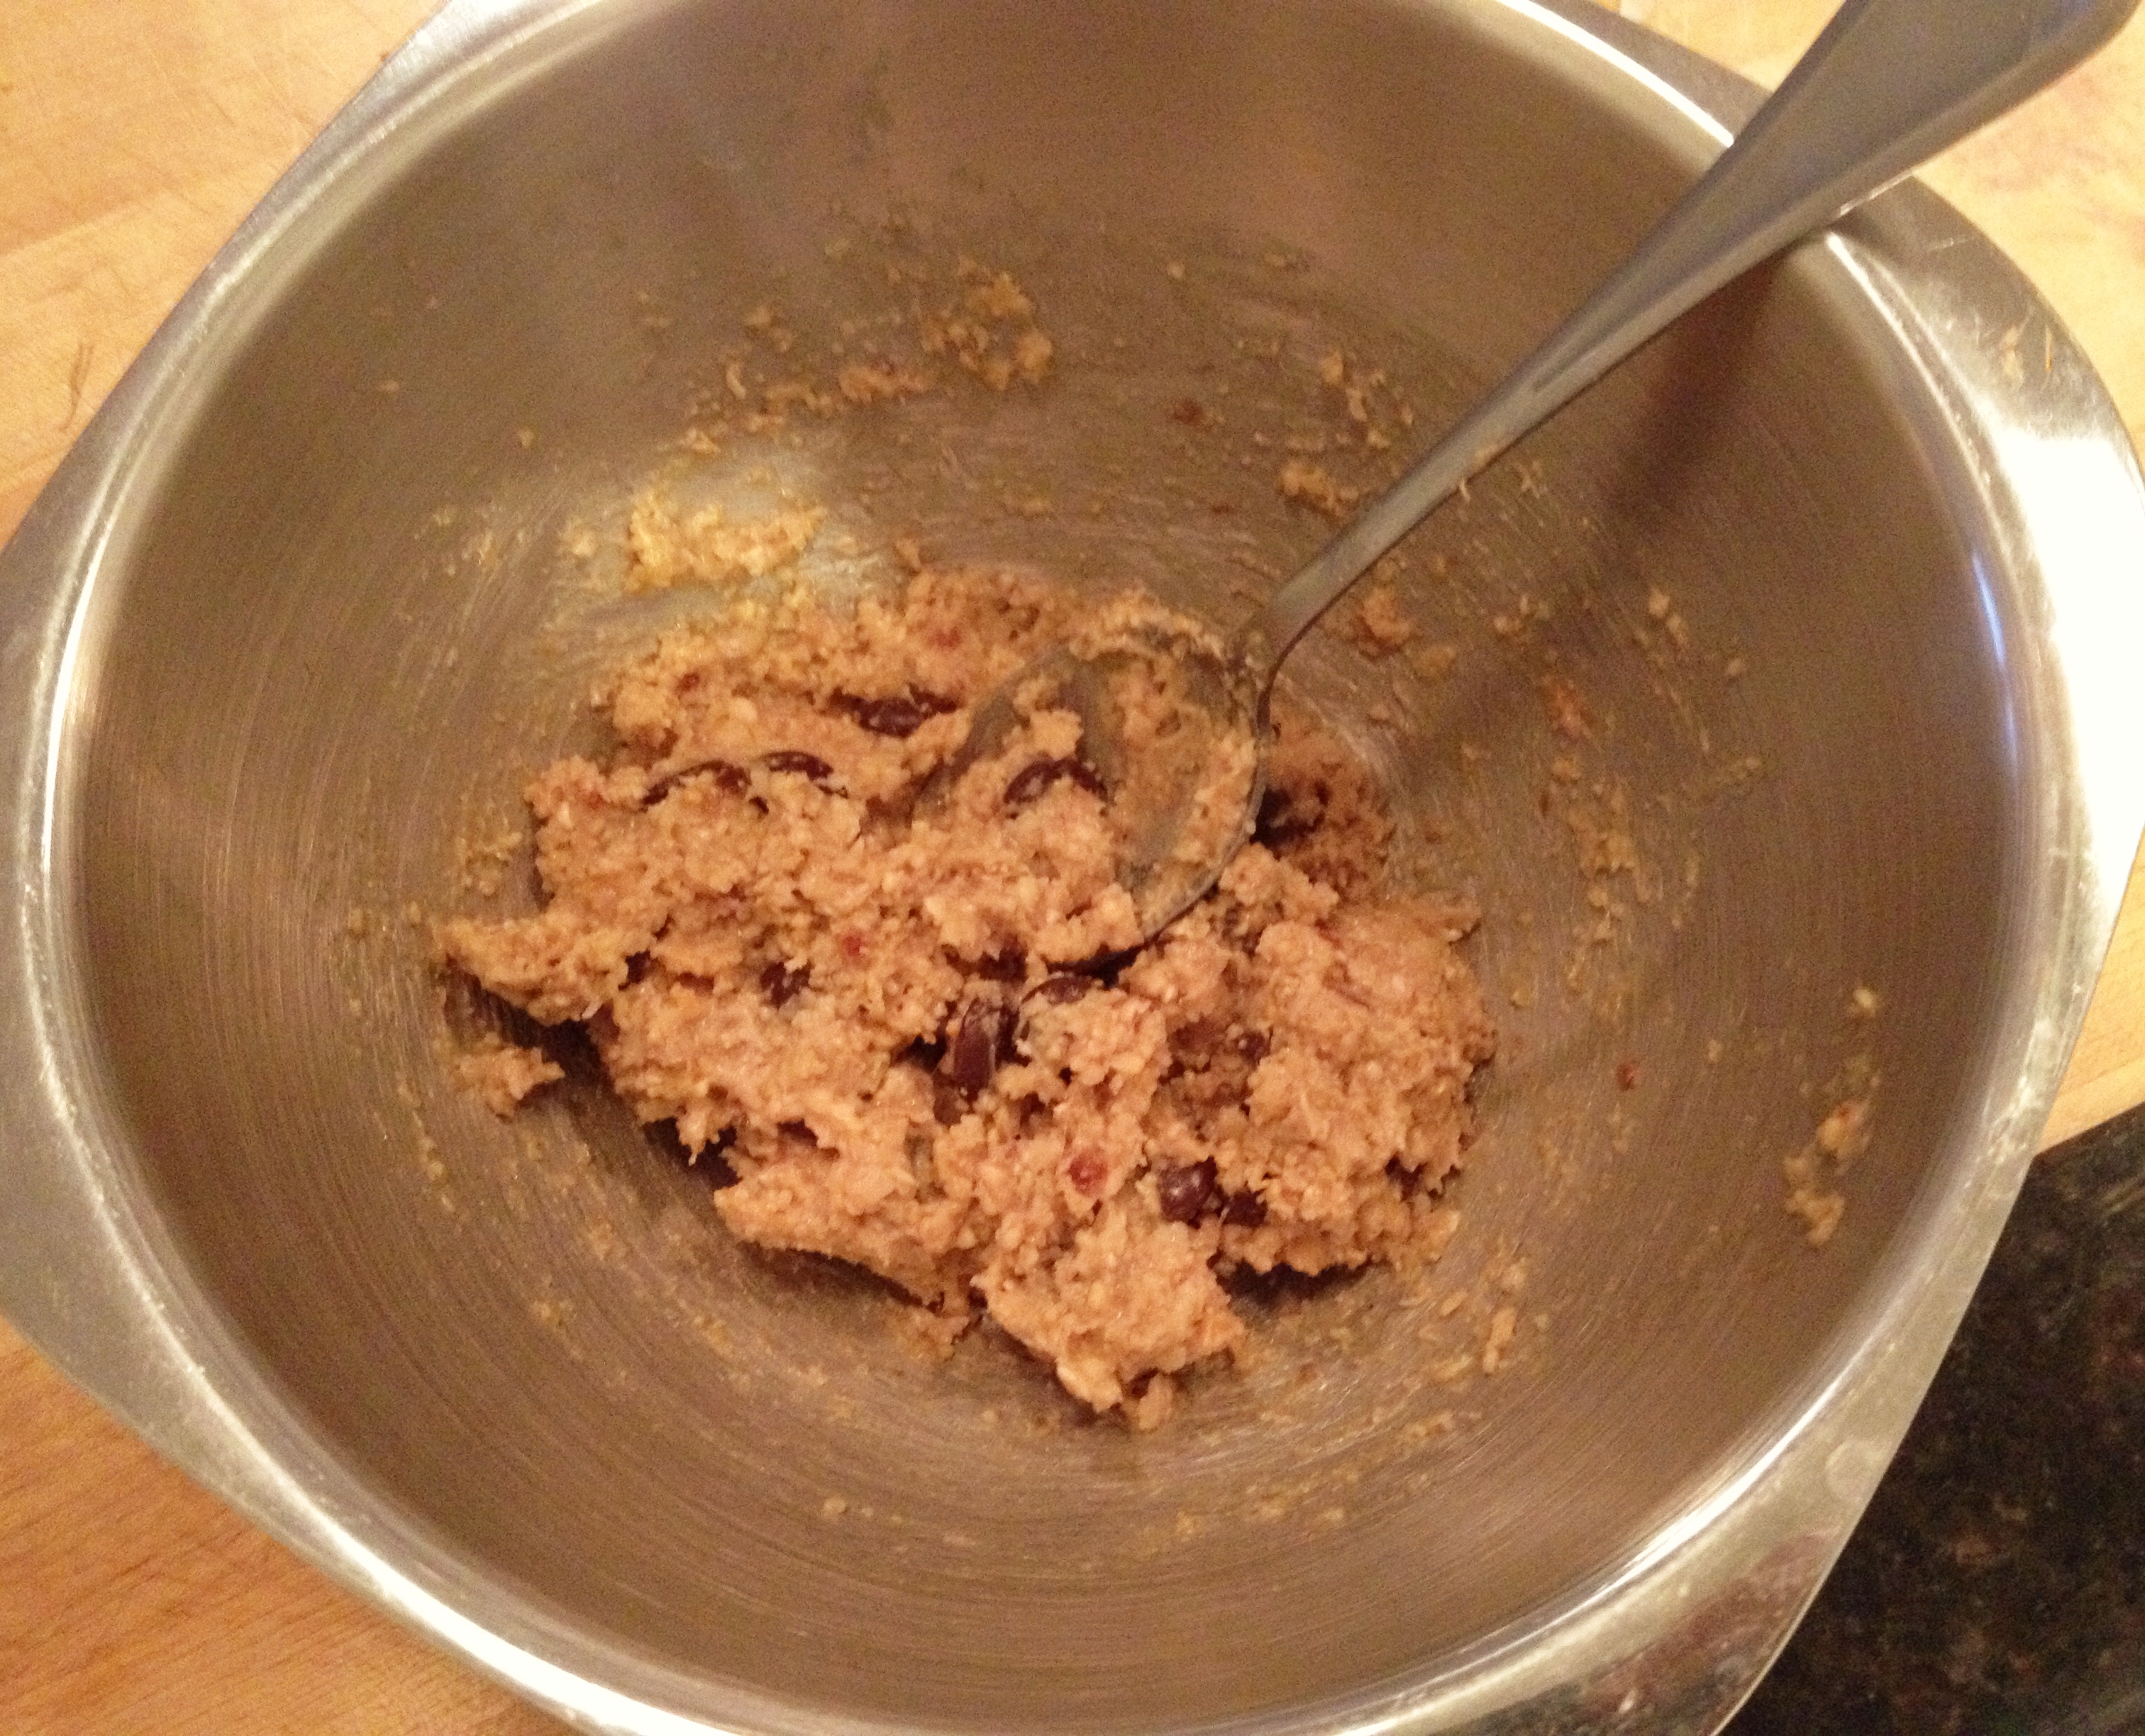
Use a spoon or your hands to scoop into balls
*tips: Pink Himalayan sea salt is what I use in almost all my dessert recipes (and always when using as a dusting/topping for chocolate or caramel) but regular salt works fine. If you want the pretty coconut flake coating simply leave it out half of it and at the end roll the balls in the remaining coconut flakes using your hands to make sure it sticks well. Layer parchment paper when storing so they don’t stick together.

Refrigerate a few minutes to help keep shape when piling
Whichever recipe you choose (I hope you try both!), remember that chocolate is an instrument of pleasure and whether you are indulging or being healthy, enjoyment is a must and guilt has no place at the table.♥